
Last updated November 2, 2026
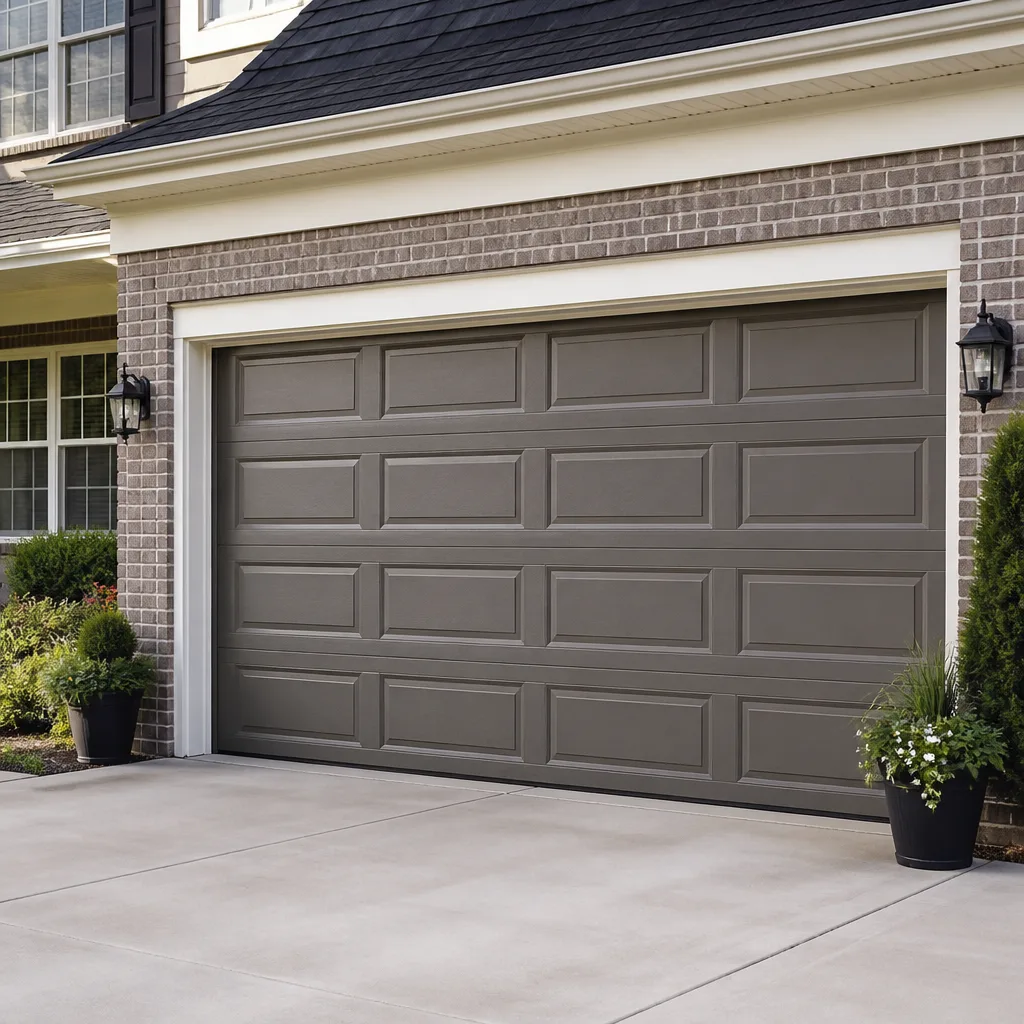 Raised-panel steel
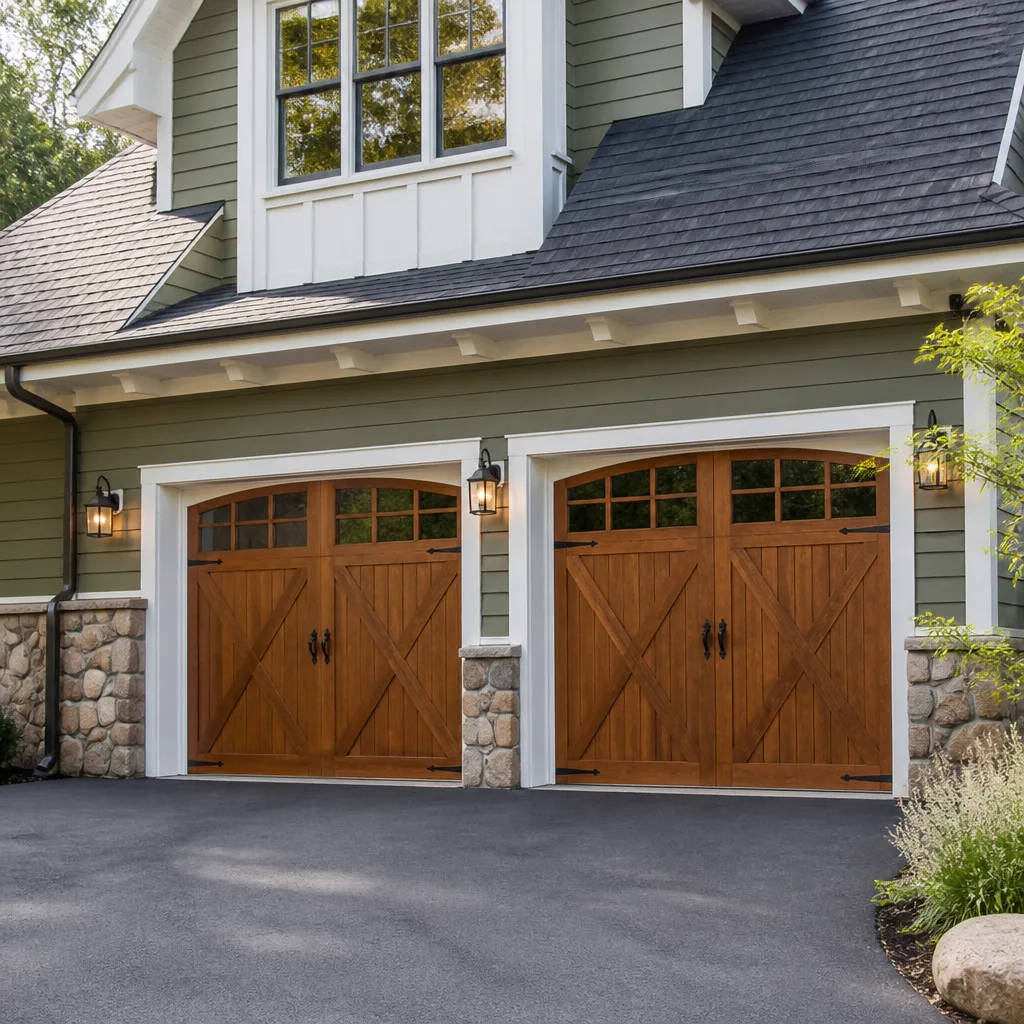 Carriage house
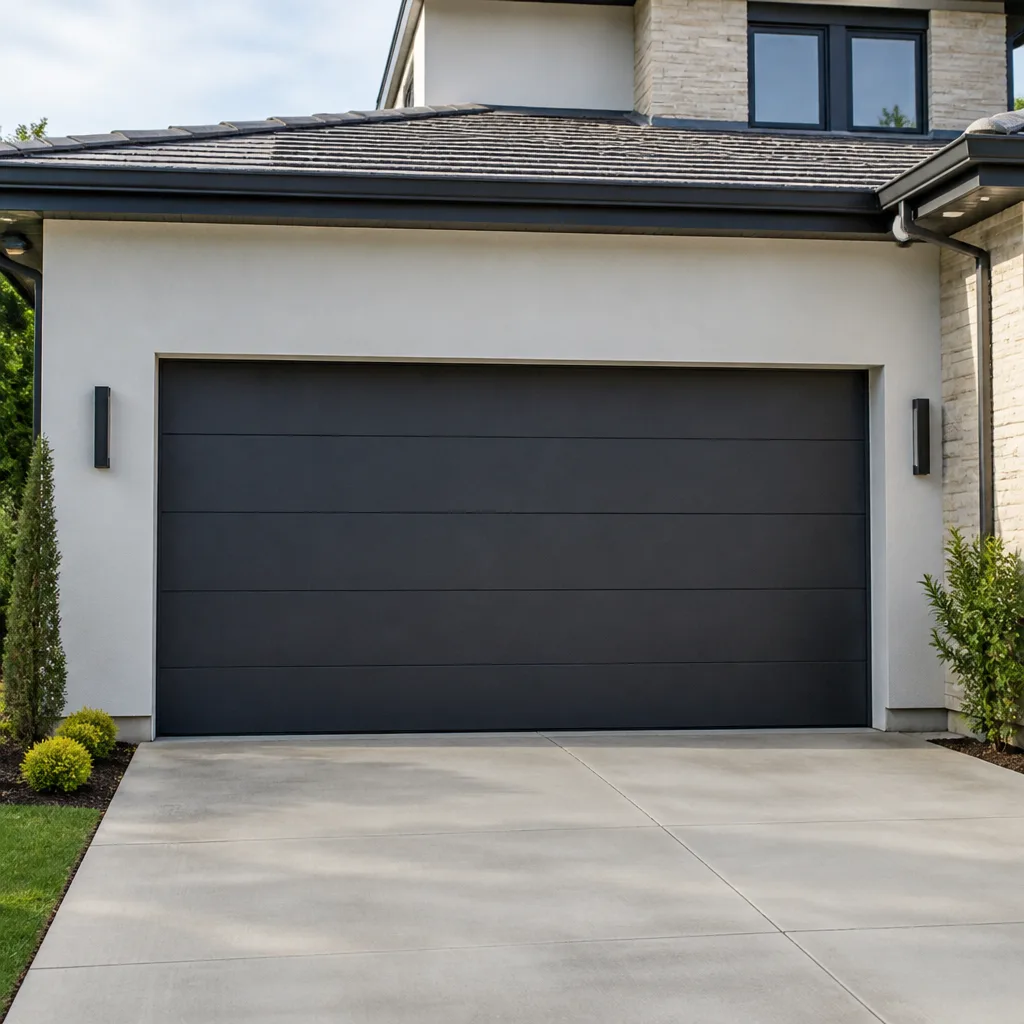 Modern flush
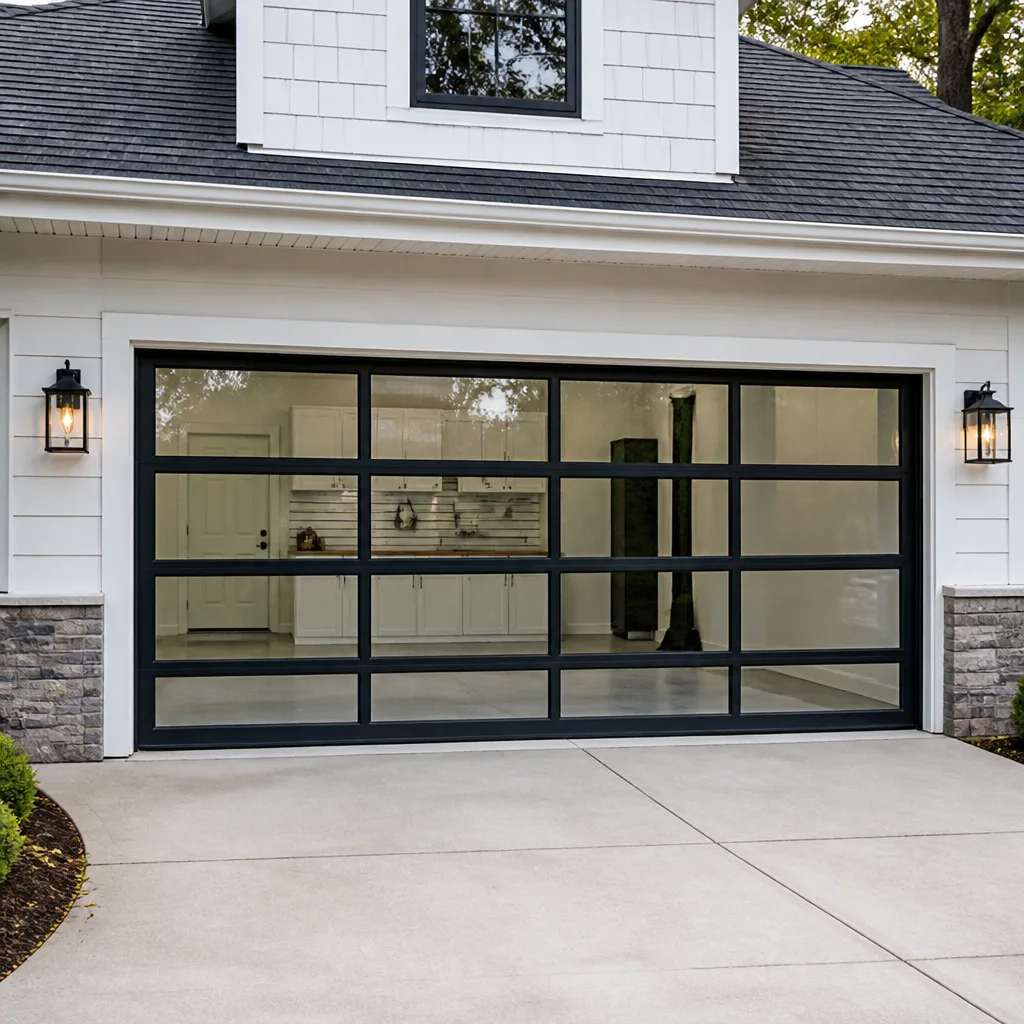 Full-view glass
 LiftMaster openers
 Chamberlain openers
Full 25-point door and opener safety check with every visit - springs, cables, rollers, tracks, and your LiftMaster or Chamberlain opener included
You get a price before we start. It does not change when the truck arrives.
Get your free estimateGarage Door Repair Troubleshooting: Common Problems and How to Fix Them
Here’s a counterintuitive fact we’ve learned from years of our Garage Door Repair services in Cathedral City: the most common DIY mistake isn’t skipping lubrication or ignoring a squeaky roller. It’s adjusting the opener’s force settings to compensate for a mechanical problem. When a door gets heavier because a spring is losing tension, homeowners crank up the force dial so the opener keeps pulling. It works for a few weeks. Then the opener motor burns out, the spring snaps, or the door comes off its tracks, and a $150 fix becomes a $900 replacement. This guide works backward from the symptoms you’re seeing to explain what’s actually failing, so you can stop chasing the wrong fix and address the real problem before it compounds. You’ll learn how to distinguish an opener problem from a door problem from a hardware problem, what specific sounds point to specific components, and where to draw the line between a safe adjustment and a job for a trained technician.
Quick Answer
Most garage door problems fall into one of three categories: the door itself (panels, tracks, rollers, springs), the opener (motor, logic board, sensors, remote), or the connection between them (brackets, bolts, alignment). The key to efficient troubleshooting is identifying which system is failing before attempting any fix, because adjusting the wrong component, especially force settings or spring tension, typically makes the problem worse and more expensive.
Styles & brands we work with
- Raised-panel steel
- Carriage house
- Modern flush
- Full-view glass
- LiftMaster openers
- Chamberlain openers
Table of Contents
- The Decision Tree: Opener Problem, Door Problem, or Hardware Problem?
- What That Sound Actually Means: Grinding, Popping, Slapping, and Squealing
- Why the Door Stops Halfway (Five Causes, One Involves Opener Settings)
- Door Won’t Open at All: Electrical vs. Mechanical Failure
- Door Starts to Close, Then Reverses: Sensor Alignment and Force Limits
- Door Sits Uneven or Crooked in the Opening
- Safety Limits: What You Can Adjust and What You Absolutely Should Not
- The 30-Second Post-Repair Check: Did You Fix the Cause or the Symptom?
The Decision Tree: Opener Problem, Door Problem, or Hardware Problem?
Before touching anything, you need to know which part of your garage door system is actually failing. The fix for an opener problem is completely different from the fix for a door problem, and mixing them up is where most troubleshooting goes wrong. Here’s the simple version: if the opener motor runs but the door doesn’t move, the problem is the connection between the two, not the motor itself. If the door moves but struggles, jerks, or binds, the problem is mechanical, not electrical. If nothing happens at all when you press the remote or wall button, the problem is electrical, not physical.
- Disconnect the opener. Pull the red emergency release cord. This detaches the door from the opener carriage, letting you operate the door manually. This single step eliminates the opener as a variable.
- Lift the door manually to waist height and let go. A healthy, balanced door stays in place. It doesn’t drift up or slam down. If the door holds position, your springs are doing their job and your problem is likely in the opener or the connection to it.
- If the door is heavy, slams shut, or won’t stay up, you have a spring or cable problem. The opener has been working harder than it should, which explains why the motor might be straining or burning out. This is the mechanical failure that force-setting adjustments were masking.
- Push the door along its track through a full open-close cycle. Feel for hitches, hear for scraping, watch for wobble. Resistance at a specific point is usually a bent track, a failing roller, or misaligned hardware, not an opener issue.
In Cathedral City, where summer temperatures routinely pass 110 degrees, we see thermal expansion affecting metal tracks and door panels in ways homeowners don’t anticipate. A door that operates fine at 7 a.m. can bind at 3 p.m. because the metal has expanded. If your door only misbehaves during the hottest part of the day, that’s a clearance or alignment issue, not an electrical one.
This decision tree matters because the repair path is entirely different for each branch. Opener problems mean circuit boards, sensors, gears, and remotes. Door problems mean springs, cables, tracks, and rollers. Hardware problems mean bolts, brackets, and hinges. At Reliance Garage Door Service home, we diagnose all three, but knowing which one you’re dealing with before you call saves time and helps you describe the problem accurately.
What That Sound Actually Means: Grinding, Popping, Slapping, and Squealing
Your garage door talks to you. Most homeowners ignore the sounds until the door stops working entirely, but each specific noise points to a specific component, as detailed in our Garage Door Warning Signs: A Cathedral City Homeowner’s Reference Guide. Here’s what we listen for on service calls across Cathedral City’s neighborhoods, from Date Palm Estates to Panorama Park.
- Grinding or growling: This is the opener’s drive gear stripping. LiftMaster and Chamberlain openers built in the last decade use a nylon worm gear that wears down over time. The motor spins, but the gear teeth skip, producing a grinding sound. If you have a Craftsman opener from the 2000s with a metal gear train, grinding means a bearing has failed. Either way, continuing to run the opener accelerates the damage. Replace the gear or the opener, not the door.
- Popping or snapping when the door moves: This is almost always a torsion spring that’s developed a weak point, or a cable catching on a drum. A single pop might be a section hinge binding. Repeated popping as the door travels means a spring is on its way out. When a torsion spring actually breaks, the sound is a loud bang that people hear from inside the house, often confusing it with a car backfiring or a firework.
- Slapping or flapping during operation: The door is bouncing, not gliding. This points to a roller that’s flattened or disintegrated, or a track that’s bent enough to let the roller skip. On Wayne Dalton doors with factory-installed rollers, we often see the nylon sleeve split and fall off, leaving the steel core to bang against the track.
- Squealing or screeching: Metal-on-metal friction. It could be dry rollers, dry hinges, or a belt-drive opener with an idler pulley that’s seized. The quick check is to lubricate the rollers and hinges with a garage-door-specific spray, not WD-40. If the squeal persists, the bearing inside a roller has failed. The fix is replacing the roller, not oiling it.
Sound diagnosis works because each component failure has a signature acoustic profile. A slapping door sounds different from a grinding opener, and a popping spring sounds different from a squealing roller. When we take calls for Garage Door Repair in Cathedral City, we can often narrow down the problem over the phone just from the sound the customer describes. That’s not a parlor trick; it’s pattern recognition from seeing thousands of doors fail in predictable ways.
One more sound that doesn’t get enough attention: silence. If your door used to make a low rumble as it opened and now makes no sound at all beyond a faint click, you’re likely looking at a dead opener capacitor or a tripped breaker. Silence after a pop is a broken spring with a disconnected opener. Silence after a storm in Cathedral City, where monsoon-season power surges are common, often means a fried circuit board.
Why the Door Stops Halfway (Five Causes, One Involves Opener Settings)
This is one of the most common complaints we hear, and it’s also where homeowners waste money on the wrong fix. A door that stops midway and reverses, or just halts, has at least five distinct causes. Only one of them has anything to do with the opener’s travel or force settings, yet that’s the first thing most people adjust.
Cause 1: The door is binding on the track
If the track has a bend, dent, or is pinched from repeated impacts, the rollers hit a tight spot. The opener senses resistance and stops to protect the motor. Run the manual test from the decision tree section. If you feel a hitched point at the same spot the opener stops, the track is your culprit. This is a hardware problem, not a settings problem.
Cause 2: A spring has lost tension
Over time, torsion springs weaken. The door gets progressively heavier for the opener to lift, and around the halfway point, when the door is fully horizontal and gravity has the most leverage, the opener can’t overcome the weight. This is the classic scenario where homeowners raise the force limit to compensate. The fix is spring replacement by a trained technician, not an opener adjustment. In Cathedral City’s dry heat, springs oxidize and lose tension faster than in coastal climates, so we replace springs more frequently than you’d expect from the national averages.
Cause 3: The logic board is confused
Opener logic boards track torque and speed. If a board is aging or has been hit by a power surge, it can misread the door’s position and stop early. This is common after lightning storms in the Coachella Valley, or after repeated brownouts. The tell is that the door stops at inconsistent positions, not always at the same point.
Cause 4: The safety sensors are misaligned, but only at a certain height
This is rarer, but it happens. If a sensor is loose and jiggles as the door vibrates, the beam can break when the door reaches a certain height, triggering a reversal. The fix is re-securing the sensor bracket, not changing the opener settings.
Cause 5: The opener settings are actually wrong
Yes, sometimes the travel limit or the force setting is misconfigured. If someone programmed the opener incorrectly, or if you moved into a home where the previous owner made adjustments that didn’t match the door, the opener might stop short. This is the only one of the five causes that you can safely address yourself, and it’s the last thing you should check after ruling out the mechanical causes.
The takeaway: when the door stops halfway, the majority of causes are mechanical. Here’s the correct order of investigation: manual operation test first, visual inspection of tracks and rollers second, spring tension check third, sensor examination fourth, and opener settings last. Working down that list in order saves you from masking a mechanical problem with an electrical band-aid.
Door Won’t Open at All: Electrical vs. Mechanical Failure
A completely dead garage door is either an electrical problem, a mechanical failure, or a broken connection between the two. Walking through these steps in order will identify which. Numbering them matters because each step is a diagnostic, not a fix.
- Try the wall button, not just the remote. If the wall button works but the remote doesn’t, it’s a remote problem: dead battery, lost programming, or range interference. If neither works, move to step two.
- Check the breaker. Garage door openers are usually on a dedicated circuit. In many Cathedral City homes built in the 1980s and 1990s, the garage circuit also powers a couple of outlets. If the breaker tripped, you might notice those outlets are dead too. Reset the breaker and try again.
- Look at the opener’s indicator light. Most modern openers have a small LED that flashes a diagnostic code. Count the flashes and reference the manual. For LiftMaster and Chamberlain units, a flashing light after a failed open attempt usually means the photo-eye sensors are misaligned or blocked. For Raynor and Genie openers, flash patterns vary by model, but the light itself is a signal that the unit has power and is trying to tell you something.
- Pull the emergency release. Disconnect the door from the opener and try to lift it by hand. If you can’t lift it, the problem is mechanical: a broken spring, a jammed roller, or an obstruction in the track. If you can lift it smoothly, the problem is electrical.
If the door won’t lift manually, look for a gap in the torsion spring above the door. A broken spring shows as a visible two-inch separation in the coil. This is the most common mechanical cause of a completely dead door, and it’s a job for a professional. Torsion springs hold hundreds of pounds of stored energy, and when they fail during a DIY adjustment, the injuries are severe. We strongly recommend against touching spring hardware.
If the door lifts manually and the breaker is fine but the opener still won’t respond, you’re looking at a failed capacitor, a burned motor, or a dead logic board. These are opener-specific repairs. In our experience with all eight major brands, including the LiftMaster models most common in Cathedral City’s newer subdivisions, capacitors tend to fail in the summer heat, while logic boards more often fail after electrical storms.
Door Starts to Close, Then Reverses: Sensor Alignment and Force Limits
This is the single most common service call we get for Garage Door Opener Repair in Cathedral City. The door begins to close, travels a few inches or a couple of feet, then reverses and goes back up. There are two main culprits, and they require very different remedies.
The photo-eye sensors are blocked or misaligned. These are the two small units mounted about six inches off the floor on either side of the door opening. One sends an infrared beam, the other receives it. If anything interrupts that beam, dirt, a leaf, a broom leaning against the wall, a misaligned bracket, the opener refuses to close. It’s a safety feature mandated since 1993, and it’s usually the reason for a door that reverses after traveling only a few inches. Check that both sensors have steady indicator lights. If one is blinking, it’s not seeing the other sensor. Clean the lenses with a dry cloth. This fixes the problem more often than you’d think. Cathedral City’s dust, especially during windy spring months, coats sensor lenses regularly.
The force sensitivity is set too low. If the sensors are clean and aligned but the door travels most of the way down and then reverses right before touching the ground, the opener thinks it hit an obstruction. This can happen if the door has gotten heavier due to spring wear, or if the force setting was never correct for the door’s weight. The temptation is to turn up the force dial. We recommend against doing this without first checking the door’s balance, because cranking the force to overcome a weakening spring just accelerates the spring’s failure. If the door is balanced and the tracks are clear, a small force adjustment may be appropriate, but it should come after you’ve ruled out mechanical causes.
A third possibility, less common but real: the door is hitting something. A warped panel, a shifted floor, or a tool that fell behind the track can trigger the reversal. Run the manual test and watch the door’s path closely.
Door Sits Uneven or Crooked in the Opening
A garage door that hangs crooked, one side lower than the other, or doesn’t seat evenly against the floor, points to cable or track problems. This is a mechanical issue that usually gets worse if ignored. Here’s how we approach it on service visits across Cathedral City.
Check the cables first. On each side of the door, a steel cable runs from the bottom bracket up to a drum on the torsion bar. If one cable has slipped off its drum, frayed, or snapped, that side of the door loses its lift. The door goes crooked because one side is being pulled by the spring while the other side is not. A frayed cable looks like a steel rope coming apart, with individual strands sticking out. If you see that, stop using the door.
Check for a broken spring on one side. Some doors have two springs. If one breaks, the door may still open, but unevenly. Look at the springs above the closed door. If one coil has a gap in the middle and the other doesn’t, you’ve found the problem.
Check the track alignment. A shifted or bent track on one side will cause that side of the door to climb or descend differently from the other. Sometimes the track bolts have simply loosened, and the track shifted outward. Tightening the bolts can restore even travel, but if the track is bent, it needs to be straightened or replaced.
In Cathedral City’s soil conditions, which include both sandy loam and clay, foundation settling is common. A garage slab that’s shifted a half-inch can make a properly adjusted door look crooked. If your door sits flush on one side but has a gap on the other, and the cables and tracks check out, the floor has moved. The fix is adjusting the door’s travel limits or the track height to compensate, not ignoring it until the door binds.
Safety Limits: What You Can Adjust and What You Absolutely Should Not
This is the section where we draw a clear line. Garage door systems store enormous potential energy, primarily in the torsion springs. The springs are under constant tension, and they don’t give a warning before they fail. We want homeowners to understand which adjustments are safe and which require specific training and tools. Getting this wrong is how people end up with serious injuries.
Safe for homeowners: Lubricating rollers, hinges, and springs with the proper spray. Cleaning photo-eye sensor lenses. Checking and replacing remote batteries. Tightening loose bolts and brackets on the track (not on the spring assembly). Adjusting travel limits on the opener (small increments only, after ruling out mechanical issues). Reprogramming remotes and keypads. Replacing light bulbs in the opener unit.
Not safe for homeowners: Winding or unwinding torsion springs. Replacing cables. Remounting a door that’s off its tracks. Adjusting or replacing extension springs. Removing the bottom bracket. Any repair that requires loosening or removing the spring hardware. These components are under high tension, and a mistake here causes sudden, violent failure. We’ve seen garage doors crash down, cables whip across the garage, and spring cones fly with enough force to embed in drywall. In our years of Garage Door Installation, every technician has completed extensive training on spring safety protocols before touching a torsion system.
The reasoning isn’t about protecting our business. It’s about physics. A torsion spring on a double-car garage door holds roughly 100 to 150 pounds of torque per quarter-turn of winding, and a standard installation involves eight to ten quarter-turns per spring. That’s over a thousand pounds of stored force. When a spring breaks under tension, or when an improperly secured winding bar slips, the energy releases all at once. No YouTube tutorial prepares you for that moment.
The 30-Second Post-Repair Check: Did You Fix the Cause or the Symptom?
After any repair, whether you’ve done it yourself or a technician has completed it, run this quick check to confirm the problem is actually solved. Many repairs address the immediate symptom while leaving the underlying cause in place. Here’s the test we run on every service call before we leave a customer’s home.
- Operate the door through three full cycles manually. Disconnect the opener and run the door up and down three times by hand. It should move smoothly, with no hitches, no excessive resistance, and no spots where you have to muscle it.
- Balance check at half-height. Lift the door to its midpoint and release it. A healthy door stays put. It shouldn’t creep up, and it should not fall down. Any drift means the springs aren’t correctly tensioned.
- Reconnect the opener and run two cycles. Watch the door travel. It should move at a consistent speed from start to finish, with no visible strain or bounce. Listen for any sound that wasn’t there before the repair.
- Check the stop points. The door should open fully and seal completely against the floor when closed. Small gaps mean the travel limits need fine-tuning.
If the door passes all four checks, the problem is fixed at the root. If it fails any of them, the repair addressed a symptom, and the underlying issue is still present. In Cathedral City, we run this checklist after every garage door repair and every opener repair, regardless of how minor the original call was. It catches issues that the customer hasn’t noticed yet and prevents a callback later.
Common Mistakes to Avoid
- Adjusting force settings to compensate for a worn spring. This masks the real problem and eventually destroys the opener motor or the spring snaps with enough force to damage the door, the car, or worse. If your door is getting harder to open, the spring is the issue.
- Using WD-40 on rollers and hinges. WD-40 is a water displacer, not a lubricant. It cleans briefly and then evaporates, leaving metal parts drier than before. Use a silicone-based or lithium-based garage door spray instead.
- Ignoring sound changes. Every sound your door makes is diagnostic. Waiting until a sound becomes a failure means a more expensive repair. The grinding that starts today is a stripped gear that fails completely in two weeks.
- Replacing the remote when the wall button still works fine. A dead remote is usually a dead battery, not a dead remote. Batteries cost a couple of dollars. Replace it first, and only buy a new remote if fresh batteries and reprogramming don’t fix the problem.
- DIY spring replacement. This is the most dangerous home repair in the garage door trade. The savings are not worth the injury risk. We cannot state this strongly enough.
- Ignoring the manual operation test. Skipping the disconnect-and-lift step sends you down the wrong diagnostic path. The manual test is the single most valuable troubleshooting action you can take, and it takes 30 seconds.
- Running the opener repeatedly when it’s struggling. Each time the opener strains against a heavy door or a jammed roller, the motor heats up and the gears wear faster. If the door doesn’t move smoothly, stop using the opener until you’ve identified the problem.
See the difference
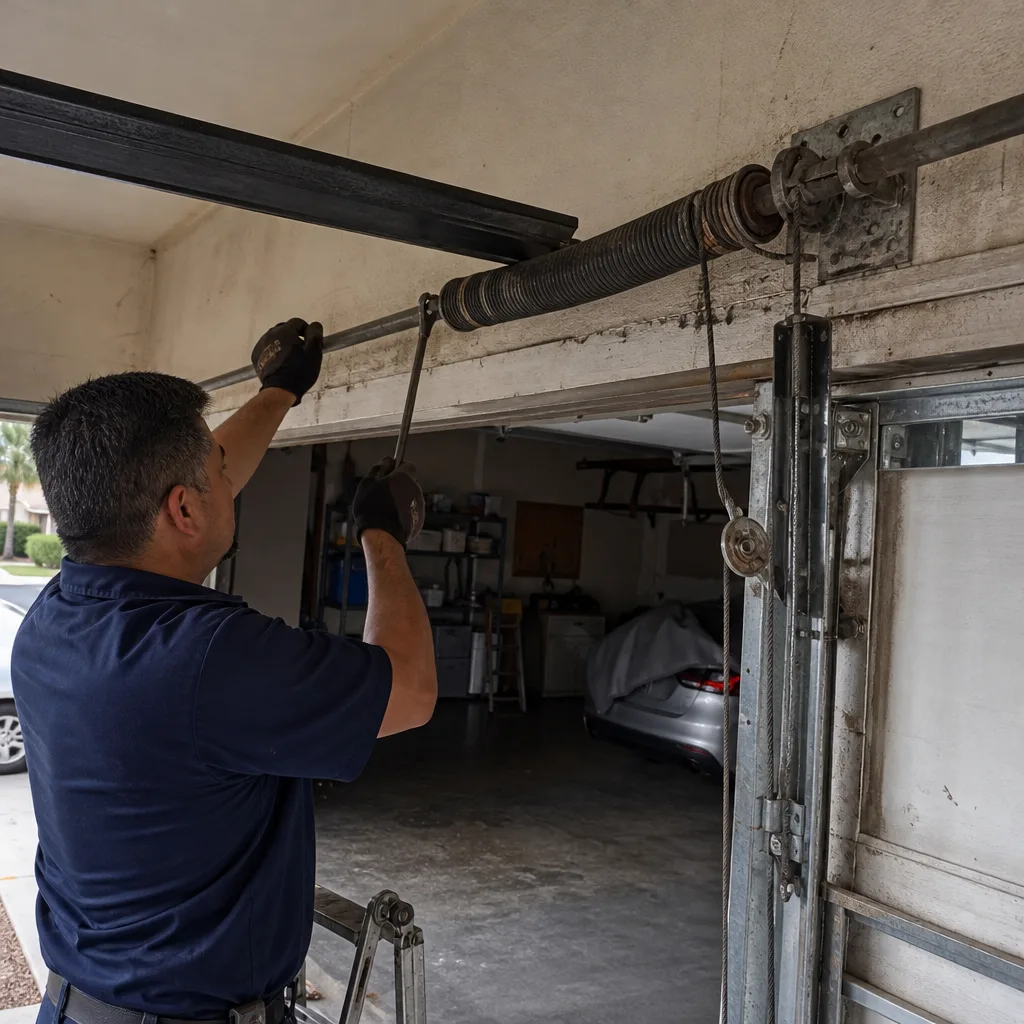 Before
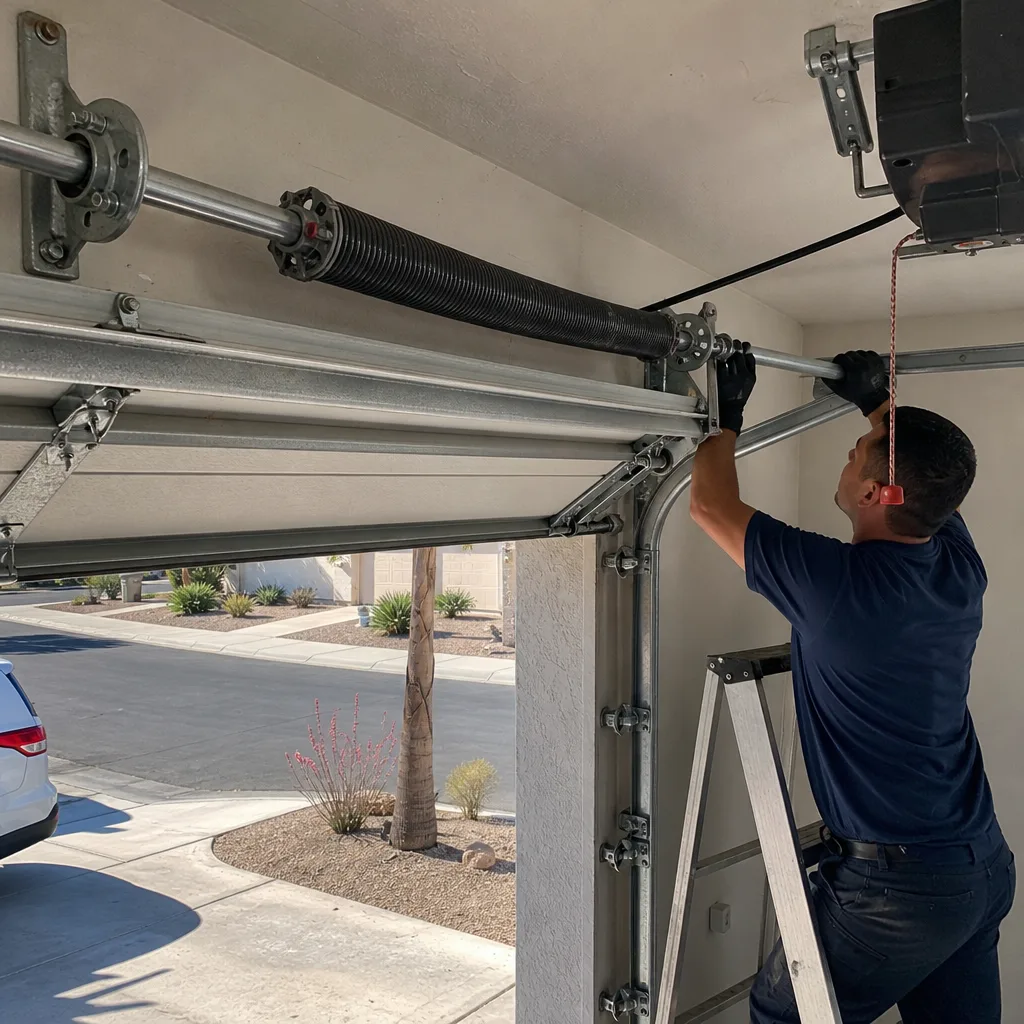 After
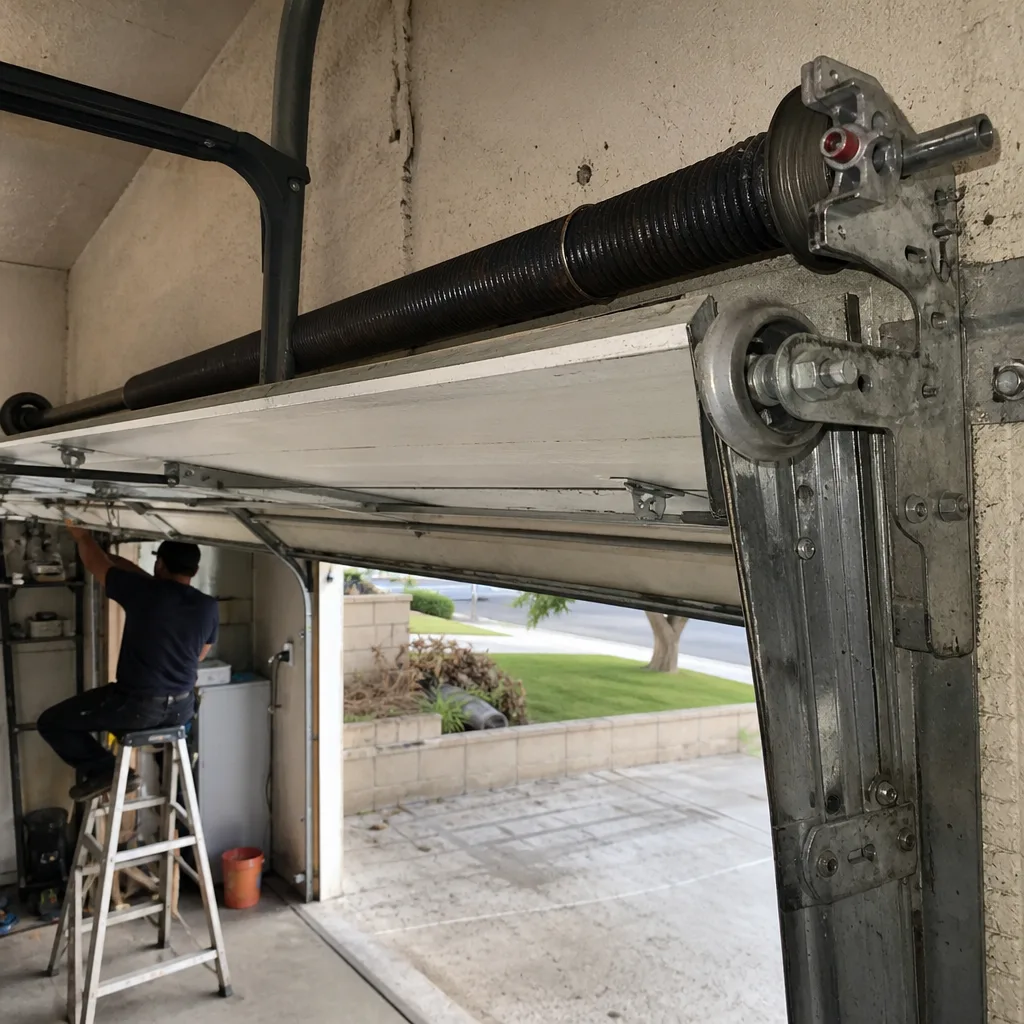 Before
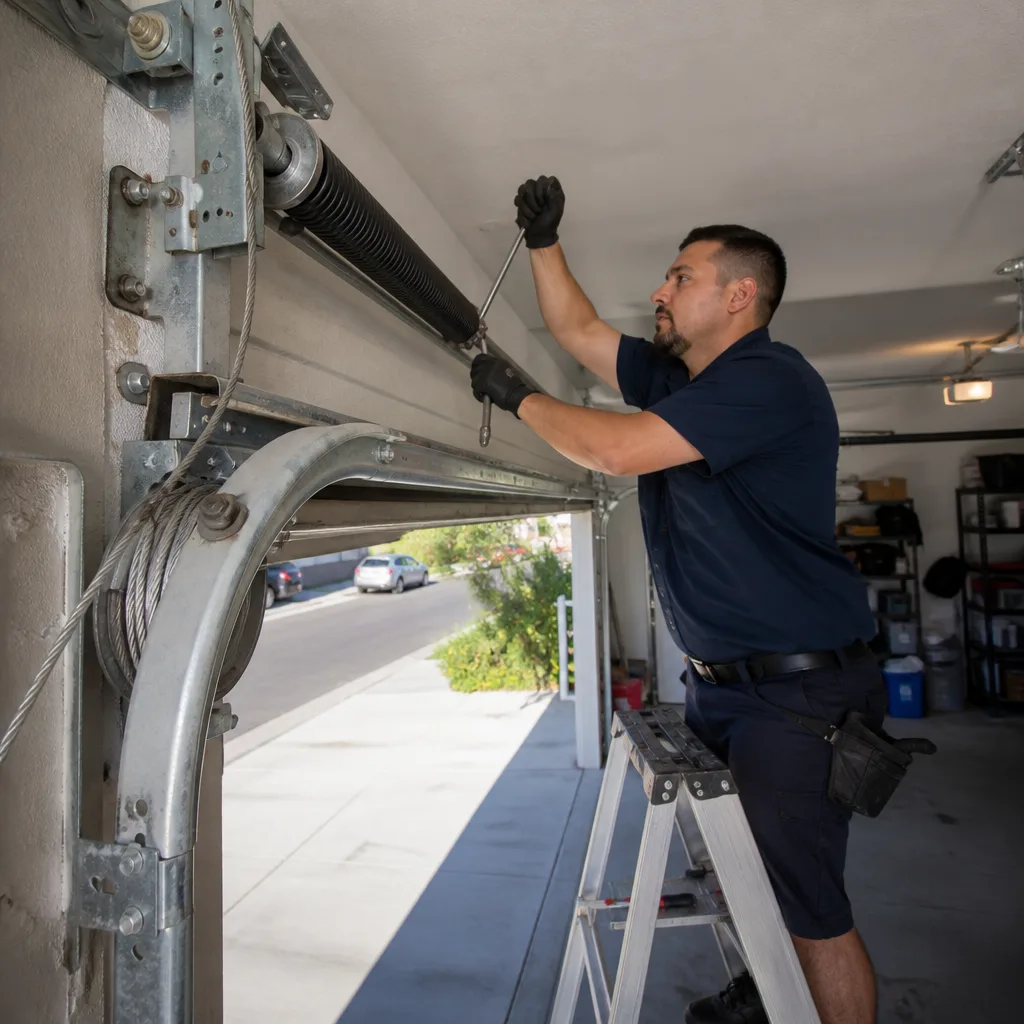 After
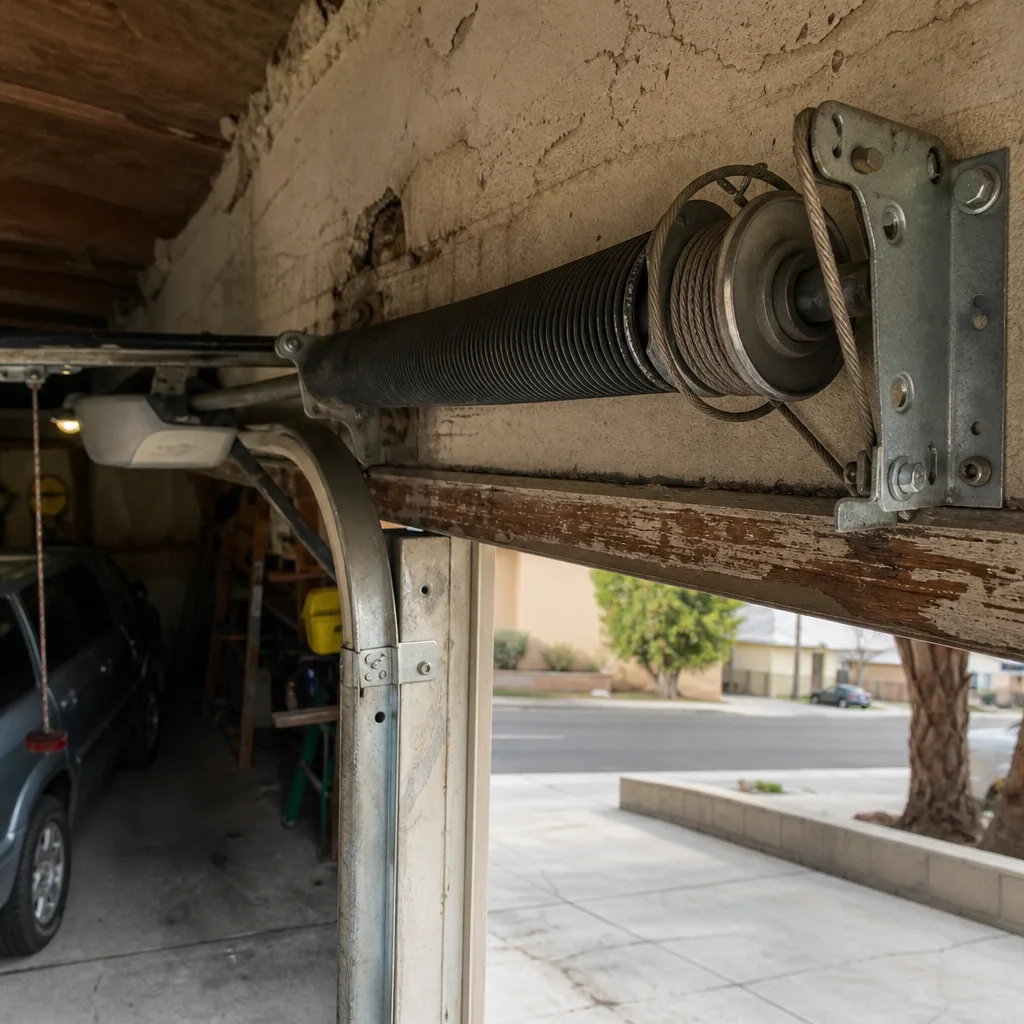 Before
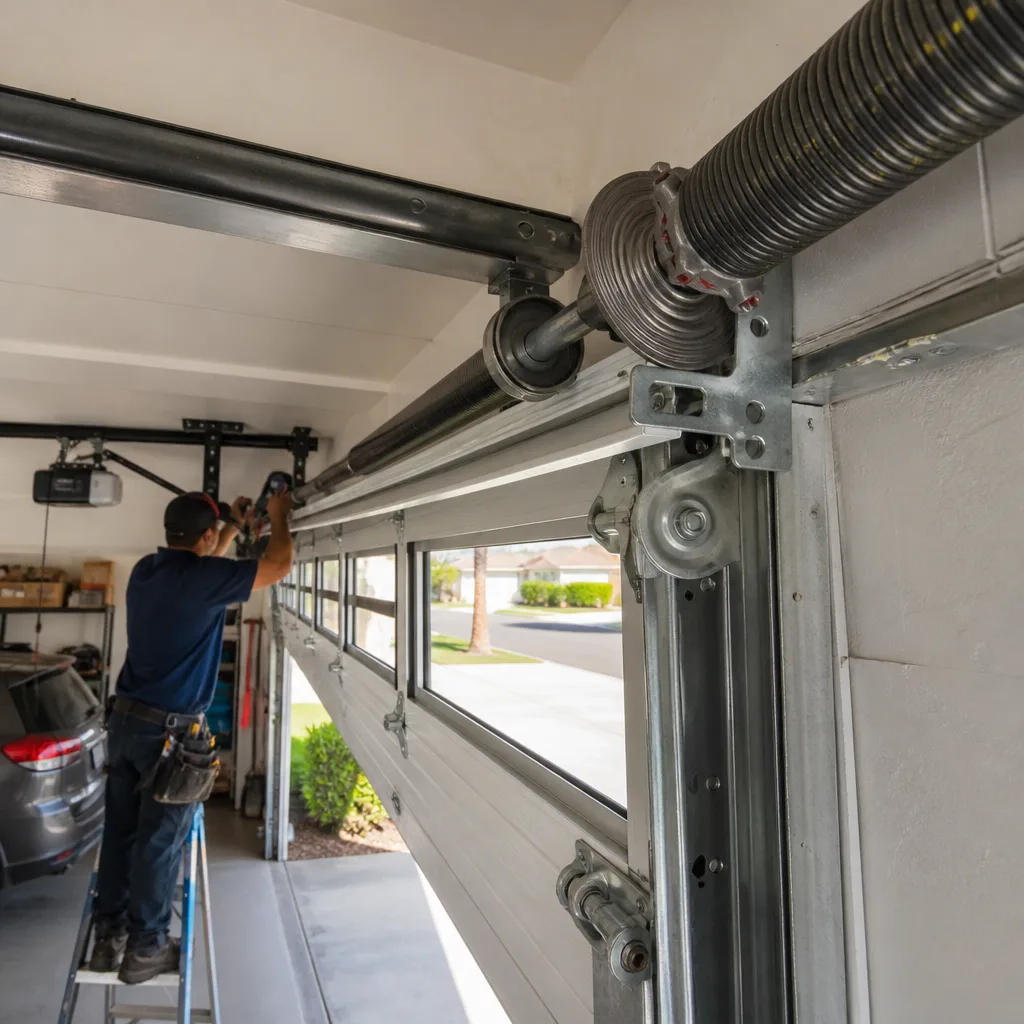 After
When to Call a Professional
Some problems resolve with a clean sensor lens or a fresh battery. Others require training, specialized tools, and respect for the forces involved. Call a technician when the door is crooked or won’t lift manually, when you find a visible break in a spring, when cables are frayed or off their drums, when the door has come off its tracks, or when you’ve gone through the decision tree and still can’t identify the cause – our How to Hire a Garage Door Contractor in Cathedral City: A Step-by-Step Guide can help you choose the right professional. Continuing to operate a door in these conditions makes the repair bigger and more expensive. Reliance Garage Door Service offers free estimates in Cathedral City, call (833) 593-4550. We work on the brand you already have, from LiftMaster to Raynor to Wayne Dalton, and one call covers the whole system, door and opener alike.
Frequently Asked Questions
Garage door repair in Cathedral City typically ranges from $125 to $350 for common issues like roller replacement, sensor realignment, or opener gear replacement. Spring replacement usually runs $250 to $450 per spring depending on the door’s size and weight. Full door replacement starts higher, but most repairs fall in the $125 to $350 window. Call (833) 593-4550 for an exact quote before any work starts.
Yes, most common repairs are same-day services in Cathedral City, particularly sensor problems, broken springs, and opener malfunctions. We carry parts for the major brands on our trucks, which means we can complete most repair calls in a single visit. Call (833) 593-4550 for current availability.
If the opener motor runs but the door doesn’t move, the emergency release cord has likely been pulled, disconnecting the door from the opener carriage. Re-engage the release mechanism according to your opener’s manual. If the motor runs and the carriage moves but the door doesn’t, the trolley or drive gear may be stripped, which is a common failure on older LiftMaster and Chamberlain units.
Torsion springs in Cathedral City generally last 7 to 10 years under normal use, though the dry desert heat can shorten that lifespan by accelerating metal fatigue and oxidation. Most springs are rated for a certain number of cycles, approximately 10,000, which for the average homeowner is 7 to 10 years of daily use. If you’re approaching that range on your current springs, preemptive replacement is cheaper than emergency replacement.
We are trained and experienced on eight major garage door and opener brands: LiftMaster, Chamberlain, Genie, Clopay, Amarr, Wayne Dalton, Craftsman, and Raynor. We work on the brand you already have rather than steering you toward a replacement from a single manufacturer. That brand-agnostic approach is core to how we operate.
No. We quote the repair after diagnosing the problem, and that price is agreed upon before any work begins. If additional issues are discovered during the repair, we stop and discuss them with you before proceeding. You always know the total cost before we turn a wrench.
The Bottom Line
Garage door troubleshooting is a process of elimination, not a guessing game. Start by disconnecting the opener and testing the door manually. Listen to the sounds the door makes. Identify whether the problem lives in the door, the opener, or the connection between them. Rule out mechanical causes before adjusting electrical settings. And know where the safety line is: springs, cables, and off-track doors are matters for a trained professional, not a weekend project. Do the simple fixes yourself, and explore more guides & resources, or call (833) 593-4550 for the rest. In Cathedral City, Reliance Garage Door Service handles the whole system, door and opener together, so one call covers it.
Written by the team at Reliance Garage Door Service, serving Cathedral City since 2016.